How to Deploy Stable Diffusion 2.0 to Production (FAST!)
November 24, 2022
Deprecated: This blog article is deprecated. We strive to rapidly improve our product and some of the information contained in this post may no longer be accurate or applicable. For the most current instructions on deploying a model like Craiyon to Banana, please check our updated documentation.
Stable Diffusion 2.0 is here! We know you are excited to try this model out and want to get it into production ASAP. Here is the quickest way to deploy Stable Diffusion 2.0 to production on serverless GPUs. If you are interested in deploying Stable Diffusion 1.0, we have it ready for you here.
This tutorial will take less than 10 minutes (minus build time) to complete. Time to dive in!
BONUS: All new users to Banana get 1 hour of FREE GPU time to get comfortable with our serverless platform and test it out. Ship that project! :)
How to Deploy Stable Diffusion v2.0 on Serverless GPUs
1. Fork this Banana Serverless Repository
You'll want to fork this repository into a private repo for yourself. This repository was created by a Banana user (@voctory) that built a Banana-compatible repo for Stable Diffusion 2.0 within hours of it being released. Thanks to voctory, this tutorial just got really easy!
Before you proceed: We highly recommend you take 2 minutes to read our docs about the Banana Serverless Framework to understand how it functions. Doing so will ensure you get maximum performance and cost effectiveness with Banana when you deploy.
P.S. We hosted a contest on Twitter & Discord giving out thousands of dollars in Banana hosting credits for the first person to build a repository for Stable Diffusion 2.0 that was using Banana's Serverless Framework. This user won $500 in Banana hosting credits, and another user won $3000 in credits! Join our Discord and follow us on Twitter to know when the next contest is dropped.
2. Create Banana Account and Deploy Stable Diffusion 2.0
Once the repo is forked, simply login to your Banana Dashboard and click the "New Model" button.
A popup will appear looking like this:
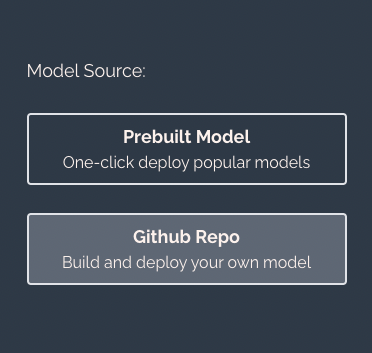
Select "GitHub Repo", and choose the GitHub repository you made for Stable Diffusion 2.0. Click "Deploy" and the model will start to build. The build process can take upwards of 1 hour so be patient, but typically it builds faster than that.
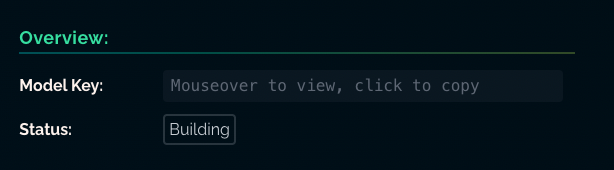
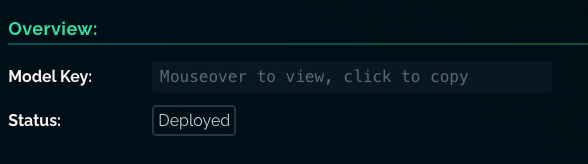
You'll see the Model Status change from "Building" to "Deployed" when it's ready to be called.
You can also monitor the status of your build in the Model Logs tab.

3. Call your Stable Diffusion 2.0 Model
Stable Diffusion 2.0 has been deployed! Congrats. All you need to do now is call your model in production. Choose the programming language you plan to use (Python, Node, Go) and then jump over to the Banana SDK. Within the SDK you will see example code snippets of how you can call your model.
Well done. You are officially running Stable Diffusion 2.0 on serverless GPUs.
Wrap Up
Reach out to us if you have any questions or want to talk about Stable Diffusion. We're around on our Discord or by tweeting us on Twitter. What other machine learning models would you like to see a deployment tutorial for? Let us know!