How to Deploy & Run ControlNet model
April 01, 2023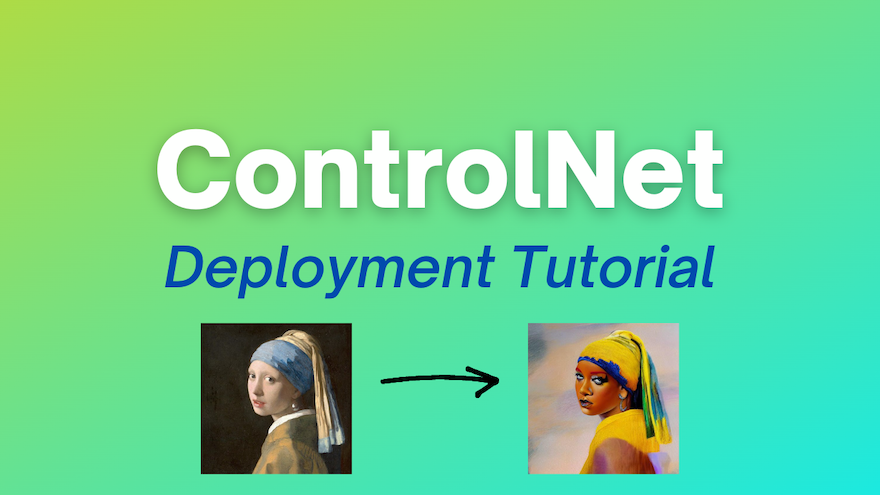
Deprecated: This blog article is deprecated. We strive to rapidly improve our product and some of the information contained in this post may no longer be accurate or applicable. For the most current instructions on deploying a model like ControlNet to Banana, please check our updated documentation.
In this tutorial we are demonstrating how to deploy and run the ControlNet model on serverless GPUs. This tutorial should take you less than 15 minutes to complete and is beginner friendly. Minimal AI knowledge or coding experience is required to follow along and deploy your own ControlNet model.
We will be using a Community Template to deploy ControlNet - this is a big reason why the tutorial is so straight forward and efficient. Templates are user-submitted model repositories that are optimized and setup to run on Banana's serverless GPU infrastructure that you can deploy in minutes with one click.
Here is the direct link to the ControlNet model template on Banana.
What is ControlNet?
ControlNet is a neural network structure that controls diffusion models by adding extra conditions. Basically, it gives you more control over the results of the generation process with models like Stable Diffusion.
It's worth noting there are a few versions of ControlNet you can use. In this tutorial we are using ControlNet Stable Diffusion 1.5 with Canny edge detection. You can view other versions on HuggingFace.
ControlNet Deployment Tutorial
We released this tutorial as a Twitter thread! To follow along step-by-step you should check out the tutorial there.
how to transform images with ControlNet. 🦾🖼️
for example, we turned this image into Rihanna. 🔥
let's "Pon de Replay" and show you how we did it.
🌟 beginner friendly (anybody can follow along)
🌟 will take ~15min to completetime to work, work, work, work , work, work 🧵👇 pic.twitter.com/zNHfFGLL4Q
— Banana (@BananaDev_) March 21, 2023
ControlNet Code Sample
Copy and paste the code below. Make sure your formatting matches the screenshot shown here:
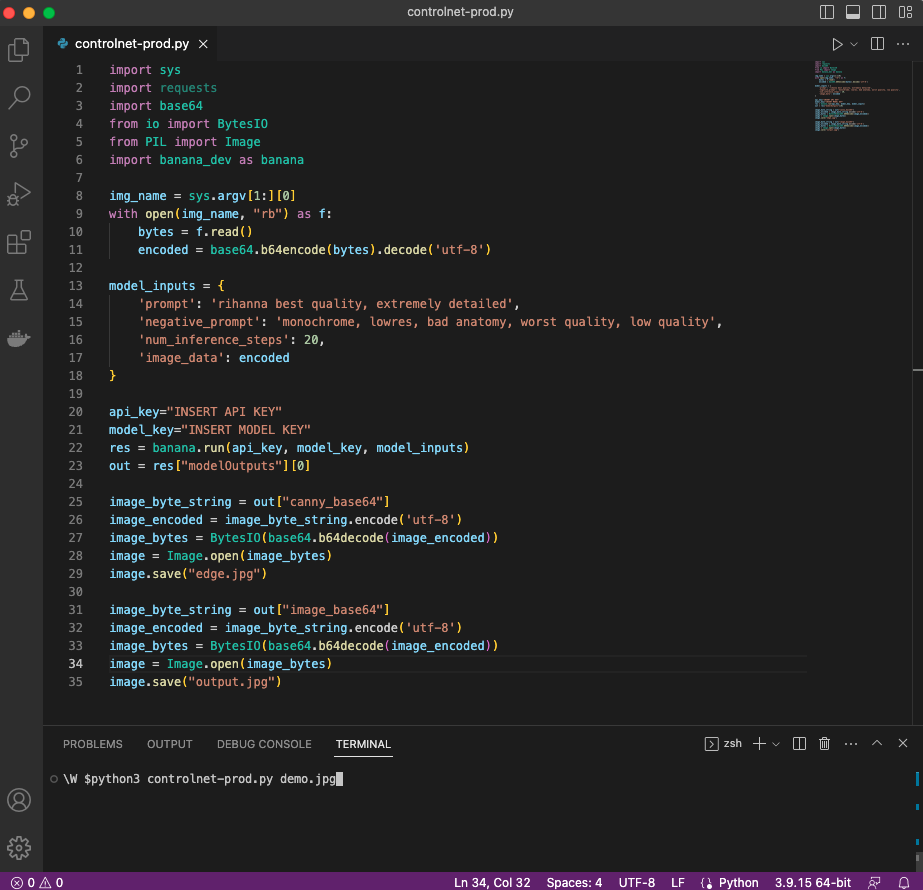
import sys
import requests
import base64
from io import BytesIO
from PIL import Image
import banana_dev as banana
img_name = sys.argv[1:][0]
with open(img_name, "rb") as f:
bytes = f.read()
encoded = base64.b64encode(bytes).decode('utf-8')
model_inputs = {
'prompt': 'rihanna best quality, extremely detailed',
'negative_prompt': 'monochrome, lowres, bad anatomy, worst quality, low quality', 'num_inference_steps': 20,
'image_data': encoded
}
api_key="INSERT API KEY"
model_key="INSERT MODEL KEY"
``
res = banana.run(api_key, model_key, model_inputs)
out = res["modelOutputs"][0]
image_byte_string = out["canny_base64"]
image_encoded = image_byte_string.encode('utf-8')
image_bytes = BytesIO(base64.b64decode(image_encoded))
image = Image.open(image_bytes)
image.save("edge.jpg")
image_byte_string = out["image_base64"]
image_encoded = image_byte_string.encode('utf-8')
image_bytes = BytesIO(base64.b64decode(image_encoded))
image = Image.open(image_bytes)
image.save("output.jpg")